You are using an out of date browser. It may not display this or other websites correctly.
You should upgrade or use an alternative browser.
You should upgrade or use an alternative browser.
Ceconite rejuvenation
- Thread starter Big Ed
- Start date
Bob Turner
Well-known member
- Joined
- Apr 4, 2018
- Messages
- 4,125
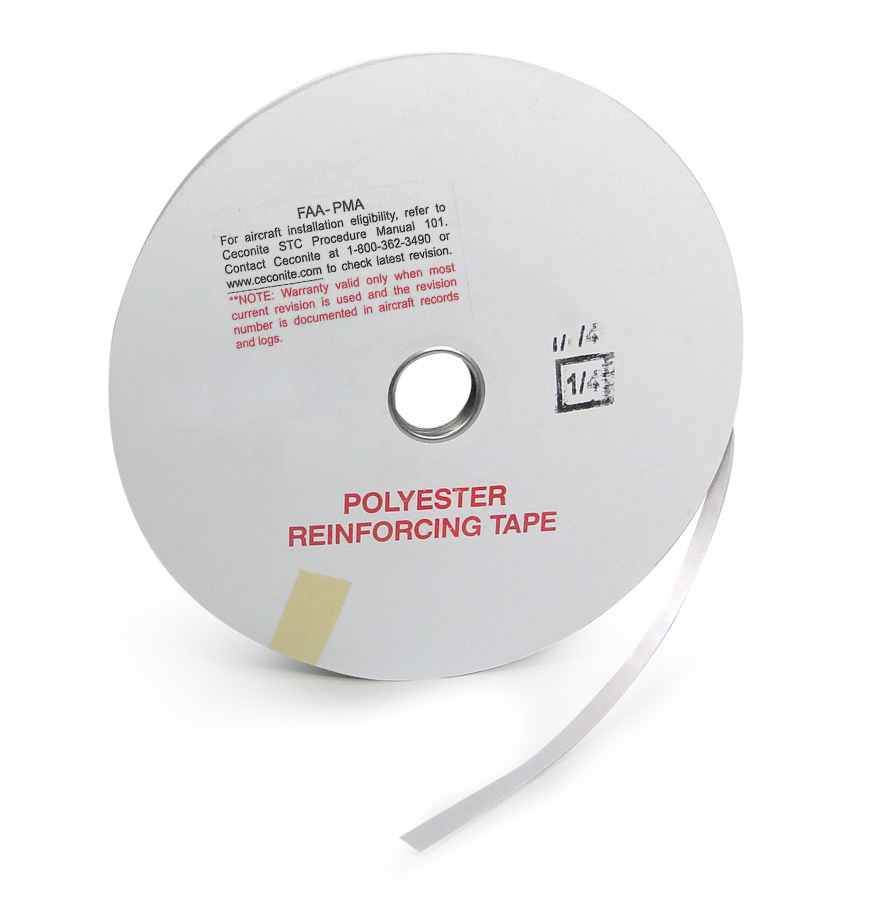
I think you used 1” reinforcing tape. It goes under 2” Ceconite/ Stitts tape. Reinforcing tape doesn’t shrink.
Rather than cut or remove, I would just glue 2” tape over the top of it.
I have seen very few successful straight-edge tape jobs. My Decathlon has them, but it was done by a fabric guy better than me. I am teaching in a show quality Waco - show, all except for many lifting straight tapes.
Rather than cut or remove, I would just glue 2” tape over the top of it.
I have seen very few successful straight-edge tape jobs. My Decathlon has them, but it was done by a fabric guy better than me. I am teaching in a show quality Waco - show, all except for many lifting straight tapes.
Nope, I used linear straight ceconite tape.

 www.aircraftspruce.com
Reinforcing tape is a separate product.
 www.aircraftspruce.com
Linear Straight Tapes (Ceconite 102) | Aircraft Spruce ®
Linear Straight Tapes (Ceconite 102) FAA approved. Must be used with Ceconite STC. Comes in two weights, 2.7 oz. (Ceconite 102) and 1.7 oz. (Ceconite light). Either tape may be used on any Ceconite fabric. C-102 2.7 oz. is offer...
www.aircraftspruce.com
Reinforcing tape is a separate product.
Ceconite Reinforcing Tapes | Aircraft Spruce ®
Ceconite Reinforcing Tapes (FAA APPROVED) Polyester twill with adhesive back. Applied under rib lacing, pop rivets, or PK screws to prevent fabric from ripping. 60 yd. length.
www.aircraftspruce.com
Bob Turner
Well-known member
- Joined
- Apr 4, 2018
- Messages
- 4,125
You are apparently right. They no longer sell 1" reinforcing tape.
My wings were done with 1" reinforcing tape, then riveted and covered with 2" straight surface tape. Looks great, so far, at the 30-year mark. I have not seen many done that way.
Are you sure they didn't send you leftover pre-shrunk tape?
My wings were done with 1" reinforcing tape, then riveted and covered with 2" straight surface tape. Looks great, so far, at the 30-year mark. I have not seen many done that way.
Are you sure they didn't send you leftover pre-shrunk tape?
Had to shut it down for a few days due to weather. 90% humidity for last 5 days, blushing guaranteed. Cold front pushed through today, probably the last one of the spring before Florida becomes Florida, so I have today and tomorrow to get this thing done. Tonight I touched up with silver until no visible light. Tomorrow I shoot 2 coats of yellow. Blue stripes on Friday.
Stupid stencil still has not arrived. Shipping info says it was shipped from the factory to the Aircraft Spruce facility in California instead of directly to me. Dealing with some serious incompetence here.
Pictures of plane tomorrow, hopefully.
Stupid stencil still has not arrived. Shipping info says it was shipped from the factory to the Aircraft Spruce facility in California instead of directly to me. Dealing with some serious incompetence here.
Pictures of plane tomorrow, hopefully.


you're doing a damn good job Ed! almost done!
Bob Turner
Well-known member
- Joined
- Apr 4, 2018
- Messages
- 4,125
Agree. Looks great!


Bob Turner
Well-known member
- Joined
- Apr 4, 2018
- Messages
- 4,125
You are an artist! Any way you could avoid messing it up with big numbers?
Thanks! I'm pretty pleased with myself. The tapework is pretty ugly, and I got some orange peeling, so it's still not a show plane. But the colors in the fresh dope really pop, so the plane looks great until you get arms length away. It went from being a 30 footer to a 10 footer.
very happy for you Ed, it looks great from here.
Bruce
Well-known member
Looking good, a flying aircraft is far better than a show peace that never leaves the hanger.
Stencil finally came yesterday. 2 days after I needed it. Now gotta wait for another quart of white to arrive on Tuesday to spray the numbers on.
That's ok. Taking a lot longer to put back together than I expected. Got at least 2 more days of work before I fly.
I am taking my time as I go, fixing about 15 years of neglect and replacing most fasteners.
Put in the rear windows today. I was worried about that, but it wasn't too difficult. Wrangling the rubber channel was tricky.
A few weeks ago I was crowing about how easy it was to take off the boot cowl. Following the iron law of pride going before the fall, putting it back on was way harder. Had a terrible time getting the upper rear corners to mate properly with the lower corners of the windshield. Now there is a gap between the windshield fairing and the windshield. Don't see how that is gonna be waterproof. Ugh.
OTOH, closing in on a flyable airplane. Stuff remaining to reinstall: belly pan, upper/lower cowl, wing root fairings, and seats. Bleed brakes. Hang stencil and paint N-number.
OTOH, closing in on a flyable airplane. Stuff remaining to reinstall: belly pan, upper/lower cowl, wing root fairings, and seats. Bleed brakes. Hang stencil and paint N-number.
Bruce
Well-known member
One piece at a time, I painted numbers yesterday hope to add a stripe today but my to do list is much longer than yours. Keep plugging away. This helps you understand why it cost so much to recover these planes, it’s all so time consuming.
Bruce
Well-known member
Here’s a suggestion for the stencils, I placed mine by taping it as one peace to make it look good then ran tape along lower edge as a hinge point, then made a cut line between numbers and cut then taped back in place so I only had to remove one at a time after painting. Also I took an edge and folded it back so I had an easy start point for pulling them off. On the center like in the zero if you can leave a air bubble near an edge then I used a pick in the bubble to start pulling it off. Best of luck

Stencils in place, ready to shoot in the morning.
go Ed!