Replacing Citabria & Decathlon Trim Cables

Bartman

Administrator
Staff member
Joined
Mar 27, 2018
Messages
4,332
Location
New Jersey, USA
Hi all,

Has anyone replaced the trim cables recently? I'm wondering if I can use the old cables as fish wires to just pull the new wires through without having to remove interior panels. My A&P/IA friend is helping with the process but just trying to figure out what will be easiest for us before we start.

Thanks!
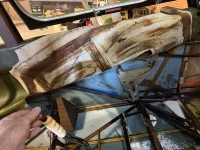
 
I’ll say no, pretty sure the End by control Handel will not go through the guide holes. I just installed new cables before covering and I think they go in one way. Frount to back Now if you pull a string or wire out with the cable to control handle seems like only pulley guides are in the tail where it Turns out of fabric and then under the tail where they split. I think you can get away with that. Remember the turn buckle will need to be straight when it hits the guide holes. I’d also suggest a second set of hands to feed it back in. Good luck
 
Well, I'm going to give it a try so we'll see. The rear pulleys have to come apart anyway to be cleaned and lubed so we'll do one at a time and see how it goes.
 
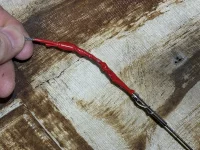
I bet you could cut off the thimble end on the old cable and attach the new cable to it with tape and heat shrink…
 
I was thinking of flattening the thimble and then using safety wire to link the thimble to the barrel of the turnbuckle. Something to condense the size of everything and hook them together.
 
Why not just pull the cable and crimp the end on after it is in place? Crimpers should be easy to rent or borrow. The shrink tape trick will surely work then.
 
Oh yes you can use the old cable as a fish wire to pull the new one through! Pics when I do the second one tomorrow sometime.
 
The sidewall panel has to be up and out of the way
IMG_5172.webp

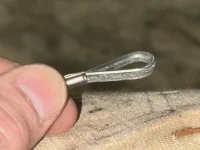
The cable starts with a thimble in the loop, get it out without mangling the cable too badly
IMG_5175.webp

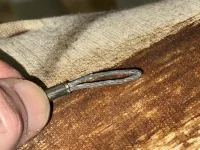
Flatten the cable loop
IMG_5176.webp

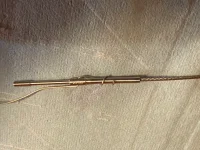
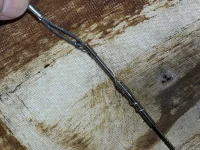
The pieces barely fit through the eyelets in the formers so keep it all as tight as you can without damaging the threads of the new turnbuckle shaft.
IMG_5177.webpIMG_5178.webpIMG_5179.webp

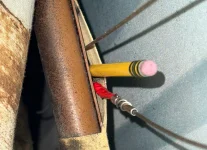
The left rear window has a frame tube running vertically down the middle of it. Follow that tube down behind the sidewall upholstery and you'll find a plastic rub strip taped to the frame tube. The strip keeps the trim wires from rubbing against the frame tube. I very gently put a pencil under the tape to hold it open and then gave the bundle a little shove to get it through. From there it is clear sailing to the back of the fuselage using the old cable to pull the new one through. Don't mix up the cables and don't let them criss-cross each other! Put the turnbuckle on and attach the first one to the trim tab before pulling the other one through.

IMG_5181.webp

When you're all done, remember there is a cotter pin in the bolt that holds the trim lever in place so it can't back out during flight while remaining adjustable.
 
Last edited:
Back
Top