1979 Decathlon CS rehab

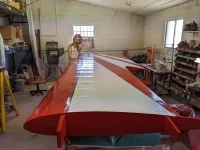
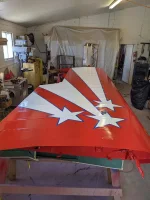
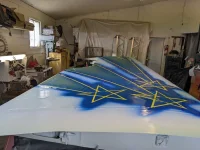
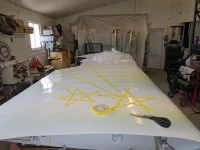
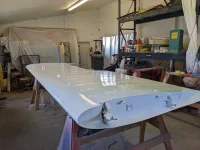
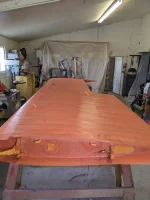
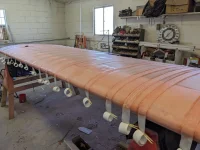
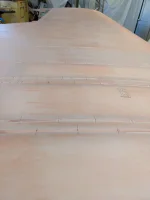
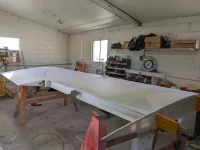
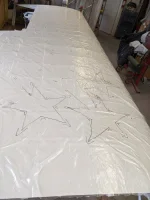
Interior is back in. Time to start on the wings. I've tried to talk myself out of recovering them, but the finish is pretty far gone and someone appears to have spilt some Polyfiber into my Ceconite. Not a bad idea to get a look inside anyway.IMG_20220828_153403_HDR.webpIMG_20220828_153352_HDR.webpIMG_20220828_175351_HDR.webp
 
Wow, that is terrifying. How long do you project it will take to cover the wings?

I see you have the low panel, same as me. I really like that setup. Less real estate for fancy gadgets, but gets your head outside the cockpit, where it ought to be in a plane like this.
 
Has anyone had experience with the Rainbow Flying Service rib nails to screws STC. Did you find an easy way to get the nails out? Pictured is the worst spot. 90% of the nails are still tight. It appears that they are all still smooth nails and not ring shank. After drilling 1000 rivets, how much trouble could swapIMG_20220831_180453_HDR.webpping a few hundred nails be.
 
Never done it on a Champ, but on Cubs you do your best to get the nail started out without destroying the rib, by prying under the aluminum. Then a really good pair of nippers and a wood block . . .

I suppose one could grind the face of the nippers to get under the nail head, but we have always been able to get the nail to move a bit.

I bet one could make a better pry bar out of an old hammer - the claws would need to be ground pretty skinny. As I recall, we used a heavy duty putty knife.
 
A bit of grinding on the tip of a cheapo pair of wire cutters would make a suitable tool. Put a screwdriver under the hinge as a fulcrum so the pulling force is straight out. Never done it, just spit balling.
 
At the leading-edge spacer block on top of the spar is where I really need to put screws, but I do not think the STC covers that. I think I'll call up Rainbow and see what ideas they have before I jump in.
 
One down, one to go.
 

Attachments

  • PXL_20230521_214559457.webp
    PXL_20230521_214559457.webp
    165.5 KB · Views: 13
  • PXL_20230521_214542430.webp
    PXL_20230521_214542430.webp
    145.8 KB · Views: 14
  • PXL_20230520_230701608.webp
    PXL_20230520_230701608.webp
    154.6 KB · Views: 13
  • PXL_20230520_173948578.webp
    PXL_20230520_173948578.webp
    132.6 KB · Views: 10
  • PXL_20230515_145233220.webp
    PXL_20230515_145233220.webp
    150.6 KB · Views: 10
  • PXL_20230501_161250570.MP.webp
    PXL_20230501_161250570.MP.webp
    140.7 KB · Views: 11
  • PXL_20230323_180831405.MP.webp
    PXL_20230323_180831405.MP.webp
    180.3 KB · Views: 11
  • PXL_20230310_213333349.webp
    PXL_20230310_213333349.webp
    53.8 KB · Views: 11
  • PXL_20230223_235427473.webp
    PXL_20230223_235427473.webp
    123.5 KB · Views: 9
  • PXL_20230520_170302320.webp
    PXL_20230520_170302320.webp
    148.5 KB · Views: 9
Did you use the masks to layout the stars and bars or do it a different way?
I have to start on mine if I can ever get the house fixed
 
Did you use the masks to layout the stars and bars or do it a different way?
I have to start on mine if I can ever get the house fixed
I drew a pattern on plastic before removing cover, punched holes in the pattern at all the important intersections, and transferred pencil marks to the wing to mask it off. Compared to my notes and measurements. Then I spent about two hours yesterday masking including an extra layer of tape which I peeled after spraying the blue and about an hour this morning masking before I sprayed the red.
 
Back
Top