Clifford Daly
Well-known member
- Joined
- Apr 12, 2018
- Messages
- 146
Just search aeronca interest group on FaceBook. You should find it there. I’ll look on my daughter’s Instagram. I don’t have it. Thanks!I’m the other project going on. I have the 67 citabria thread! But yes I took a time lapse of the entire process of changing the spars from taking the fabric off to putting the fabric on. I have quick videos on the airplanes Instagram (oldtimeaviation) but can post the longer ones here to show more.
What group? I’d be interested in joining


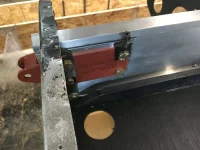
Ended up getting a new fitting from Univair and it fit like a glove!After inspecting the root fitting, we’ve noticed that the welds on it seem different from the other three fittings. Since our airframe has a high total time, we suspect that the fitting was repaired (re-welded) in the past. Spoke to Mike from Milman and he suggested to get a new fitting. We’ve got one on order from Aircraft Spruce. I’ll try to let you know how it goes with the new fitting once it’s in.
Glad to see it worked out for you guys.Ended up getting a new fitting from Univair and it fit like a glove!
")
Had a small compressor and some old guns that I never used before the project. Figured it was time for an upgrade so bought a 60gal compressor and the paint gun that Stewart Systems recommends, Devilbiss Finish Line for water based paints, a new regulator/filter/dryer, and a new hose.
It's been a huge difference just in making my little blaster box more useful so looking forward to finally trying out the paint gun.


I like the idea of a Stewart’s system thread. If you started a section on that I will definitely add a poly fiber section to talk about my experience with that process. It would be an awesome resource to get some other systems as well..Well hellllllllloooooooooo there fellow Champ, Citabria, and Decathalists!
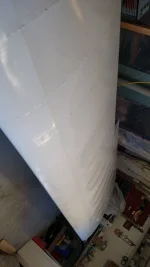
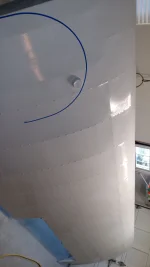
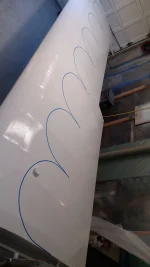
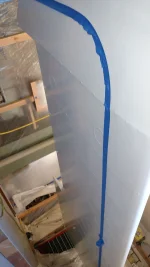
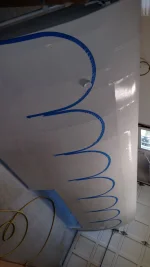
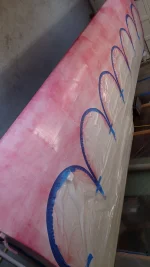
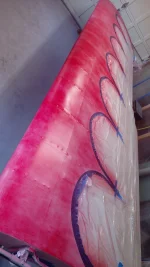
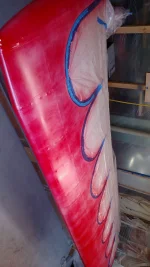
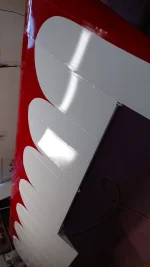
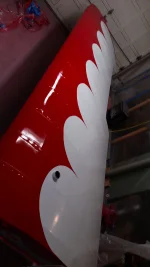
It's been a while since I've posted an update because I've been working too damn much and trying to make progress on my project! Good news though, in the last three weeks the second wing was finished and sent off for fabric, the garage was converted to a paint booth, and today I managed to get the first couple of layers of fill sprayed onto the right wing.
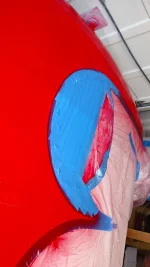
I'm using the Stewart Systems system and their first layer after attaching the fabric is called EkoFill, it's the UV protection and weave filler before primer and paint.
I've been taking photos so I'll try to fill in the blanks and also update the leading edges thread. There should also be a Stewart Systems thread for questions and stuff to be discussed. The fabric process seems so confusing but now that I'm pretty far along with it it makes a lot more sense.
Will update again during my trip this week, have to run to pick up more sandpaper and then get to bed early tonight.
Just did the Stewart thread. If you want to start the Poly Fiber thread just copy what I did and that ought to get the ball rolling.I like the idea of a Stewart’s system thread. If you started a section on that I will definitely add a poly fiber section to talk about my experience with that process. It would be an awesome resource to get some other systems as well..