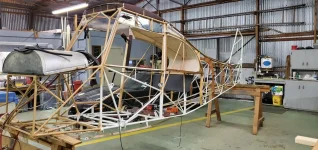
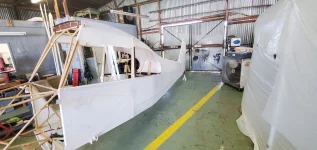
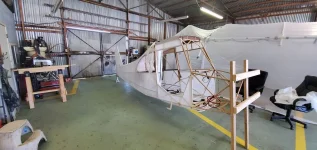
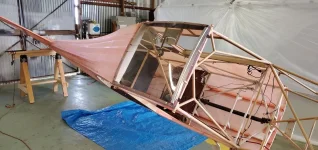
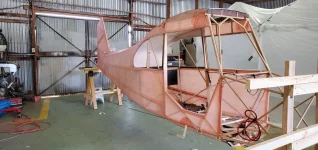
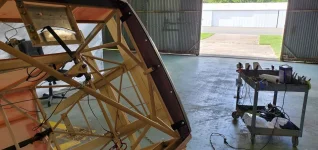
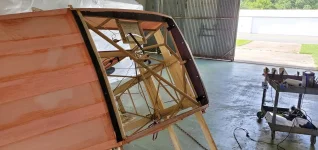
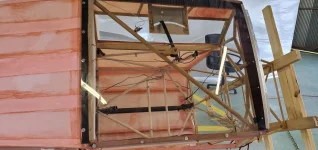
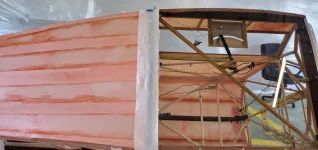
7AC rebuild and covering

Thank you!
All the side panels are .025 2024. The stiffeners are a mix of .016 hat section and .032 1"angle.
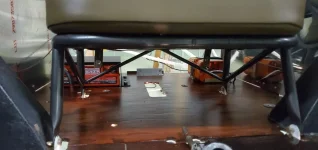
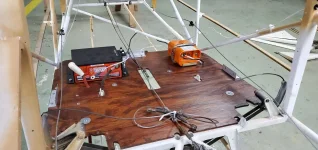
The battery will go on the starboard side behind the rear seat (53" datum) per the tcds.
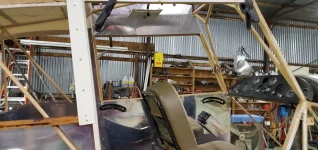
Unlike the tcds it will be the Odyssey 680 with the hold down box made for it. The AK-450 ELT will occupy the port side behind the rear seat. If you look closely at the pic of the interior with the seat installed you can just make out the battery box and the ELT on the floor behind...

Chris
 
Last edited:
Thanks! Looking forward to seeing your progress. Love seeing these planes brought back to life. Kudos to you. Too many people running them out and dumping them.
 
Thanks! Looking forward to seeing your progress. Love seeing these planes brought back to life. Kudos to you. Too many people running them out and dumping them.
Thank you for the kind words.
I kind of morphed from working on Experimental planes only to resurrecting old unloved birds...kinda backwards from the rest of my friends.
Unfortunately, my new lust (after finishing the Champ) is for a CriCri. A jet powered one. 😳
I think I got dropped on my head as a child...

Chris
 
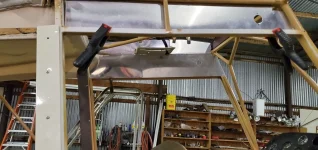
Made up the aluminum greenhouse panels yesterday. As my aux tanks in the wings were plumbed to the main tank thru valves zip-tied to the forward cockpit tubes when I got the plane I thought maybe a more suitable mounting location would be in order...
The panels above the door and the left window are made of .032 aluminum and each side contains a fuel valve. I'll cover them in headliner material and get custom placards made (using the required verbiage of course).
I also got the cover for the radio and intercom made...20201218_192122.webp20201218_161120.webp20201219_152855.webp
 
More progress...
Mounted the ELT and the battery/case on the reinforced rear floorboard and got the antenna and coax cables made up and installed. I finished reworking the wing tank fuel valves, mounted them in the panels and ran aluminum lines down to the main tank. I'll wait 'till I put the plane together after painting to make the wing tank-to-valve lines...
I DID have one small setback...a had a friend who really wants to help with the plane so I had him stripping paint off several things and he got paint stripper on my new side lexan windows that were sitting nearby. He felt terrible. When he came back the next day (still feeling glum) I told him his penance was to make some new windows. And we did. He learned a new skill and felt better about the whole episode and I got new (new) windows! Win-Win.
20201228_174138.webp 20210107_165617.webp 20210107_165659.webp

Covering should start soon...

Chris
 
OK, another progress report...
In spite of record cold weather, collapsing hangars, blown cars engines and a fuse box meltdown I am proud to announce a wee bit of progress has been achieved!
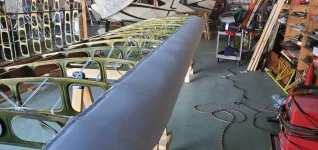
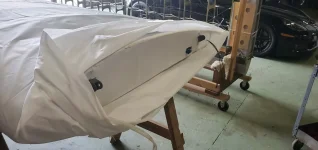
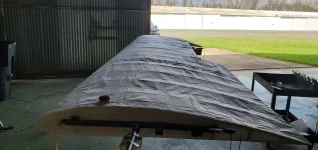
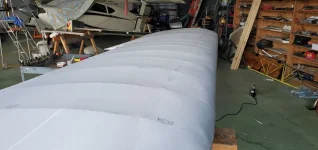
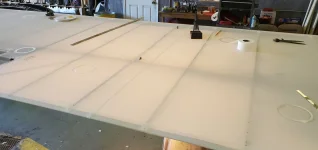
I padded the leading edge of the right wing, covered the butt rib, pulled on the envelope and proceeded to get everything lined up. I got the wingtip bow seam straight, pulled out the big wrinkles, glued the aileron cove and ribs and glued the envelope to the butt rib. Started ironing and wing flipping...250* in one pass and 350* twice (just to be certain). Start to finish: 2 hours 10 minutes...next is taping, 20 billion pk screws and finishing thru silver. Then on to the next wing then the fuselage.
Chris
20210308_154241.webp
Padding
20210310_151101.webp
The butt rib covered.
20210308_162859.webp
The envelope
20210316_151517.webp
Ready to shrink
20210316_174830.webp
20210316_174808.webp
Shrunk!
 
is the padding on the leading edge considered optional? it's gets exciting when the fabric starts to go on!
 
Just about to ask the same thing. Tell us more - felt? Does it eliminate the splitting you sometimes get when the various leading edge pieces shift? I have tried muslin on the top of a tank with good results, but have never done it on a leading edge.
 
Yes it's an optional thing. The padding just smooths out the bumps, humps and dings in the hard surfaces without having to go crazy with anti-chafe tape. I always use Polyfiber's polyester sheet. The upside is it really makes the leading edge, etc. smooth when covered and possibly less susceptible to impact damage from rocks, bad-ass bugs and the like...
The downside (for some) is you have to use an envelope to cover the wing because you can't use the leading edge as a overlap/gluing surface anymore according to Polyfiber's STC on Certified aircraft.
Some people have used other stuff from Hobby Lobby or pool table felt and got various results...felt tends to suck up the Polybrush and give a mottled effect to light colored finishes and some fabrics simply melt on contact with it.
The stuff from Polyfiber is cheap, easy to use and proven to work with their system.
I just like the way it looks.

Chris
 
Update:
I got the cover on the fuselage this week...
I covered the belly with Heavy Duty 101 fabric separately. Then slit the pre-made fuse (Polyfiber 102 medium) cover down the center of the belly and draped it over the top.
20210615_115018.jpg20210615_115117.jpg
Pull the big wrinkles out, line up the seams (I run the top center seam slightly off-center to the tail so the seam runs down the right side of the vertical fin tubing keeping the bumps to a minimum). Clamp the fabric in place, glue the forward tubes, cabin top opening (in my case the rear of the greenhouse) and around the window ledges. Then pull out any big wrinkles and glue to the lower longerons and continue on to the tail.
A few passes with the iron(s) and she's skinned!!!

Chris
 

Attachments

  • 20210617_162045.webp
    20210617_162045.webp
    115.3 KB · Views: 79
  • 20210618_110733.webp
    20210618_110733.webp
    132.7 KB · Views: 81
  • 20210618_110757.webp
    20210618_110757.webp
    135.3 KB · Views: 94
Bob,
An Aeronca (et al) fuse is a pita to cover due to needing a sewn seam on the top. A Cub is easier in that regard. I like wing and fuselage "socks" because they save me time and (when they fit correctly) finish out as good as conventional covering methods. It costs more to use the socks but what the heck...it's only money! 🤑🤑🤑

Chris
 
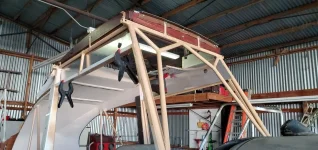
Got the polybrush on the fuselage, gussets and reinforcing strips done. I ever got the greenhouse installed. Next I'll run the reinforcing tapes on top of the greenhouse, iron down any problem areas and make sure I didn't forget anything...
Then she goes into the booth for Polybrush, polyspray and color...
20210622_115852.jpg
20210623_154353.jpg
20210624_172844.jpg
20210624_172245.jpg
This is the fun part (I keep telling myself...)

Chris
 
Last edited:
I recovered my 7GCBC in '90. Painted with a Binks gun and it turned out well but seemed that I wasted about 1/3 of the paint in overspray. What model of the Croix HVLP did you get?

Thanks for the info!
 
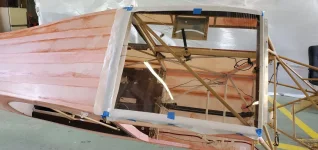
I thought I would post some Greenhouse pics for the Champ.
The wood is from Rainbow, plexi is LP Aero smoke tint for a Citabra.
Front slot for the plexi. Just slide it in.
20210625_163827.webp
Both port and starboard wood formers as well as the aluminum flange at the rear already have the covering (Polyfiber in my case) glued on and any mounting holes drilled.
20210625_163835.webp
I have a strip of 1/16" x 1" rubber strip between the rear flange and the plexi as I wanted a good seal there. Then I put the Plexiglas in place using wood screws along the sides and screws and locknuts across the rear flange.
20210625_170943.webp20210625_171134.webp
I still need to tape over the sides and rear with fabric but alas; I didn't have any glue to dope the wood screws so I couldn't attach the tapes yet.
20210625_171541.webp

Chris
 
I finally got my 2 STC's from Bill Pancake. The first allows for fabric rivets to be used in place of the stock pk screws and washers. The second is for installing the C85-12 into the Champ airframe. It also allows installation of the Odyssey 680 battery either under the front seat, the front of the firewall or (as I've done) behind the rear seat. Big or small tail your choice. Short or long engine mount your choice. Cessna 150, Hanlon Wilson or stock exhaust your choice. And last but not least, gross weight increase to 1320 lbs.!
My M12 rivet puller arrived this afternoon so tomorrow it's pop rivets and taping the wings...
20210709_173043.webp20210712_125033.webp
Chris
 
Back
Top